
20 Diy Patio Table Tips From Top Interior Designers
- Start With the Right Base Material
- Measure Your Space Before You Buy Lumber
- Choose a Tabletop Shape That Matches Your Layout
- Consider a Concrete Top for a Modern Look
- Mix Materials for Visual Interest
- Use Reclaimed Wood for Character
- Don’t Skip the Wood Sealant
- Add an Umbrella Hole During Construction
- Build in a Slight Slope for Drainage
- Go With X-Frame Legs for Stability
- Paint the Base a Bold Color
- Incorporate Tile Into the Tabletop
- Think About Table Height for Your Seating
- Use Metal Hairpin Legs for a Mid-Century Feel
- Add a Built-In Cooler or Ice Bin
- Choose Stainless Steel Hardware
- Try a Two-Tone Finish
- Design for Easy Storage or Folding
- Add Inlaid Metal or Wood Accents
- Finish With the Right Outdoor Decor
20 Diy Patio Table Tips From Top Interior Designers
Building your own patio table sounds intimidating until you actually break it down into small decisions. I’ve talked to enough designers and DIYers over the years to know that the best outdoor tables come from a handful of smart choices, not some massive woodworking skill set. Whether you’re working with a tight budget or want something that looks like it came from a high-end showroom, these tips will get you there.
Start With the Right Base Material
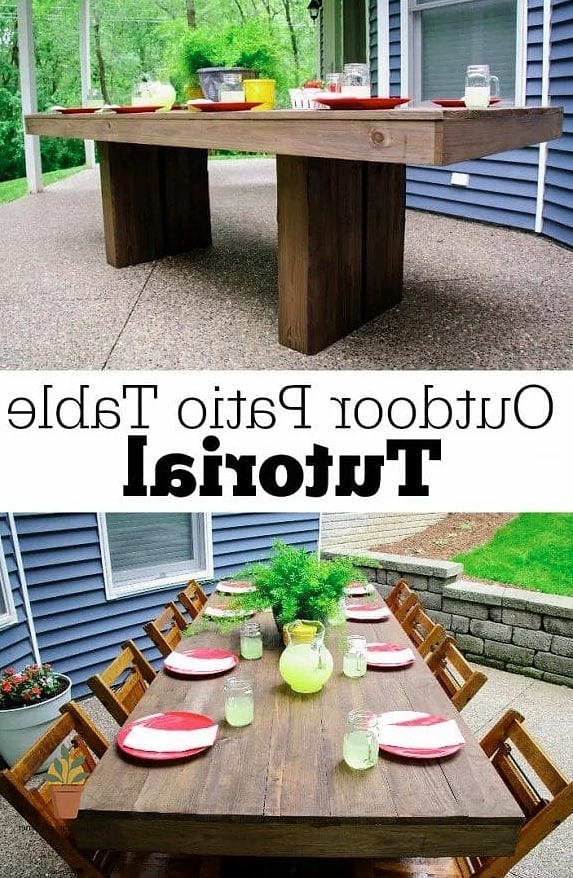
Pressure-treated pine is the budget-friendly workhorse most designers recommend for beginners. It holds up to weather and costs way less than cedar or teak. If you want something that ages beautifully without much fuss, cedar is worth the upgrade since it naturally resists rot and bugs. For a real splurge-but-worth-it option, teak develops a silvery patina over time that a lot of designers actually prefer over the original honey tone.
Measure Your Space Before You Buy Lumber
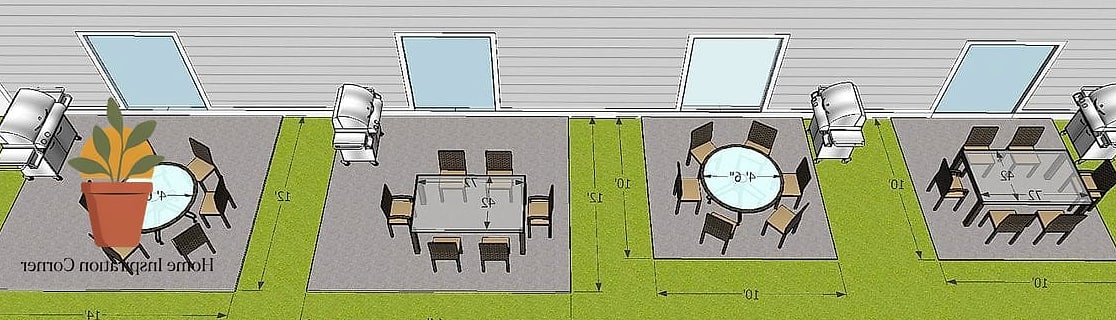
This sounds obvious, but it’s the mistake I see most often. Grab a tape measure and mark out your seating area with painter’s tape first. You want at least three feet of clearance around the table for chairs to slide out comfortably, especially if you’re entertaining families with kids running around.
Choose a Tabletop Shape That Matches Your Layout
Rectangular tables work best for narrow patios and long dining setups, while round tables feel more casual and encourage conversation. Square tables are great for smaller balconies or corner nooks. Designers often lean toward round shapes for spaces under 100 square feet because they don’t create sharp corners people bump into.
Consider a Concrete Top for a Modern Look
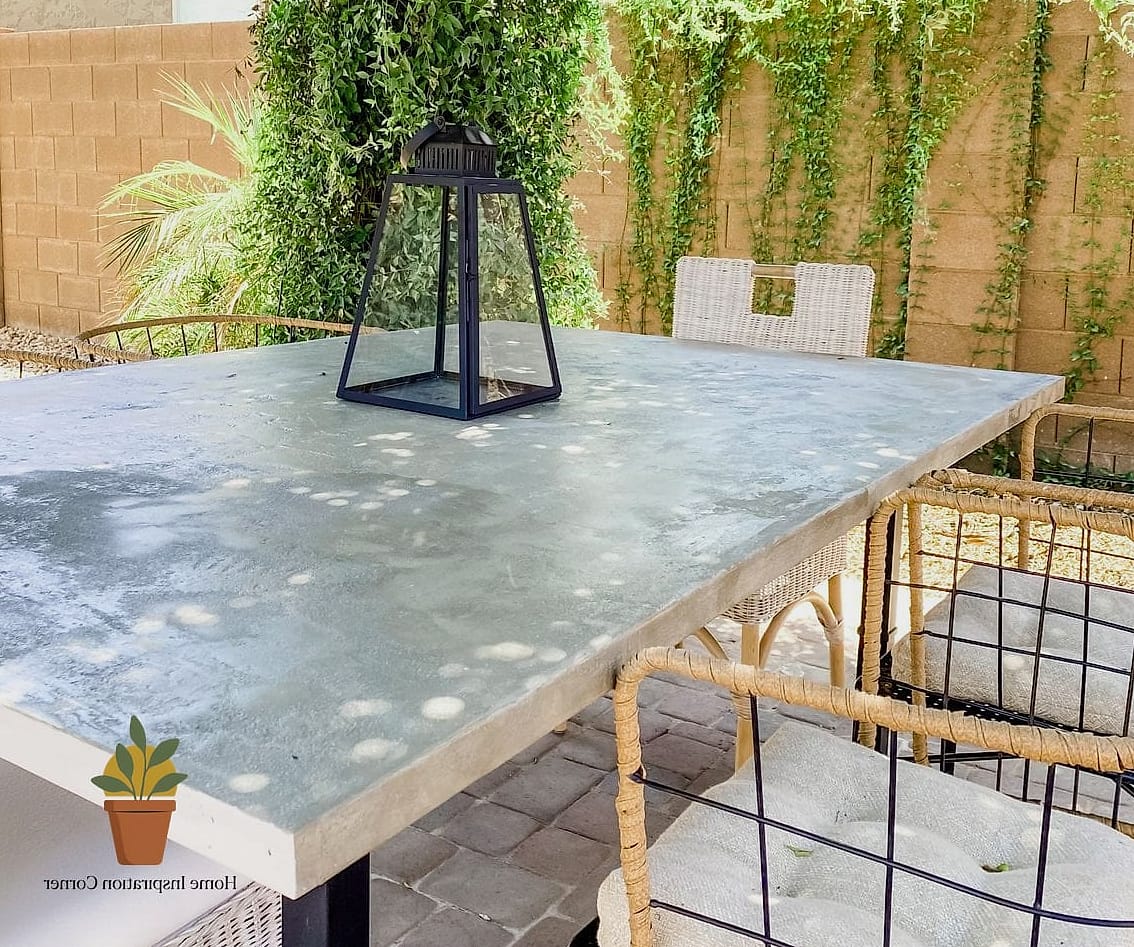
Concrete tabletops have become a favorite among designers who want an industrial, textured finish. They’re heavy, which is actually a plus outdoors since wind won’t budge them. Just seal the surface well so it doesn’t stain from wine glasses or citronella candles.
Mix Materials for Visual Interest
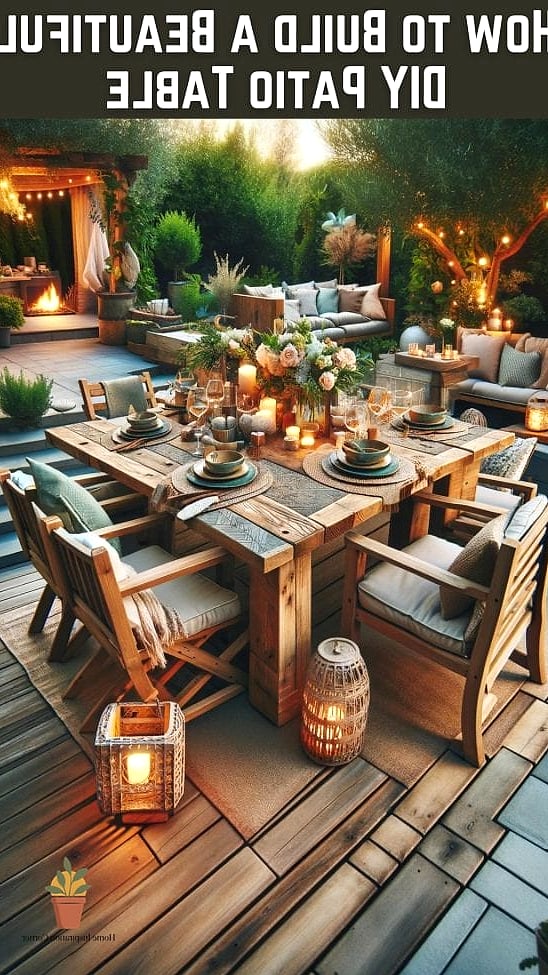
A wood tabletop paired with black metal legs is one of those combinations that instantly looks more custom. Designers love this pairing because the contrast keeps the table from feeling too rustic or too industrial. It also tends to match more outdoor furniture styles, so you’re not locked into one aesthetic.
Use Reclaimed Wood for Character
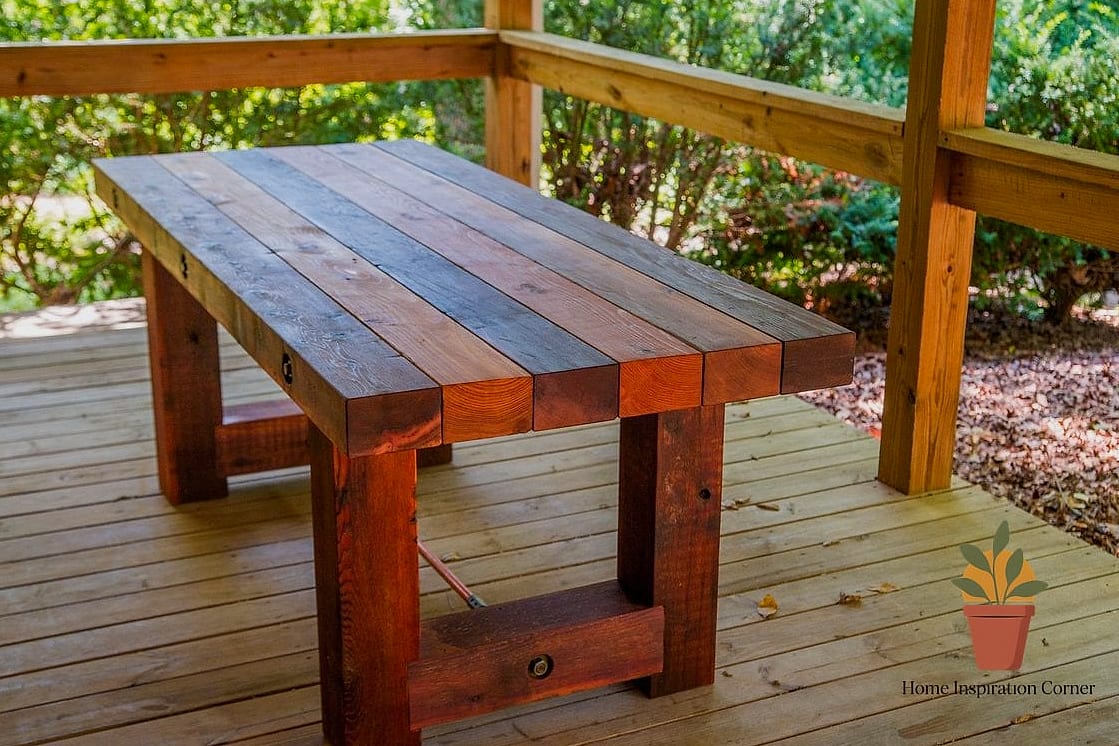
If you want a table with some story behind it, reclaimed barn wood or old fence boards add texture you can’t fake with new lumber. The grain patterns and weathering give it an authentic look that brand-new wood just doesn’t have. Just sand down any rough or splintery spots before sealing.
Don’t Skip the Wood Sealant
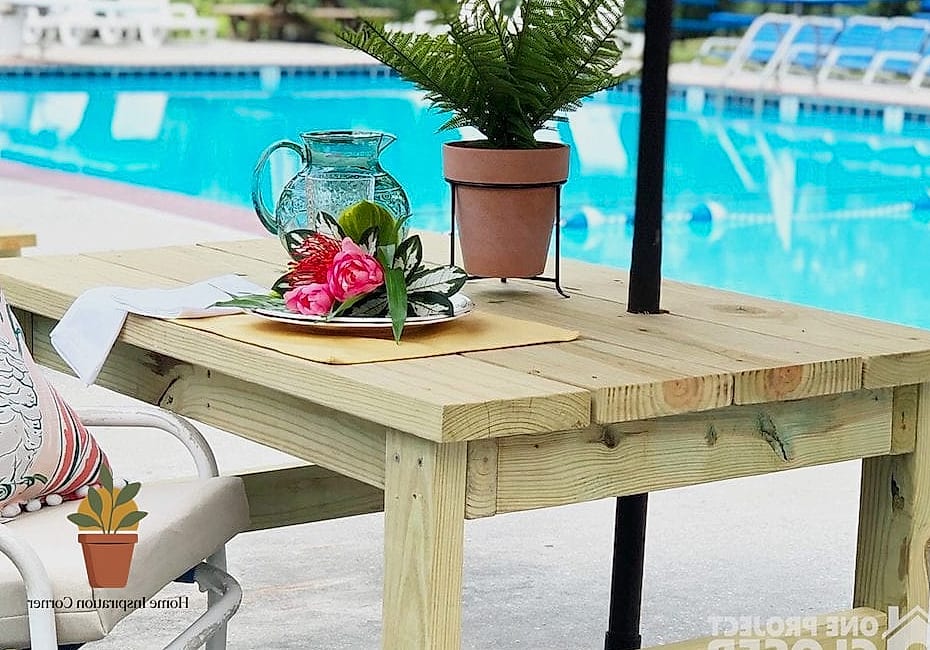
This is the step people rush through, and it shows within a season. A good exterior polyurethane or teak oil protects against sun fading and moisture damage. Plan on reapplying every year or two depending on your climate, especially if your patio gets direct afternoon sun.
Add an Umbrella Hole During Construction
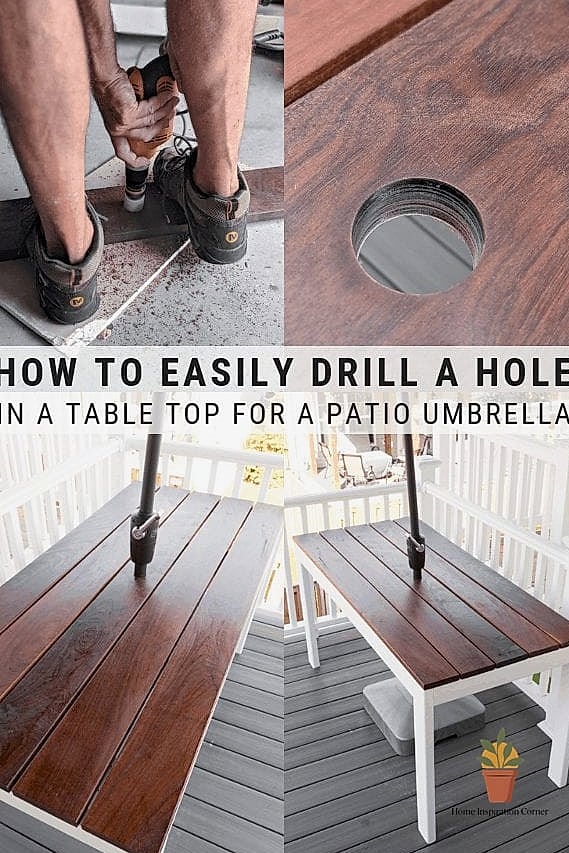
It’s so much easier to drill this hole before you assemble the table than to retrofit it later. Even if you don’t own an umbrella yet, adding the hole now means you’re not stuck without shade options down the road. A two-inch hole fits most standard umbrella poles.
Build in a Slight Slope for Drainage
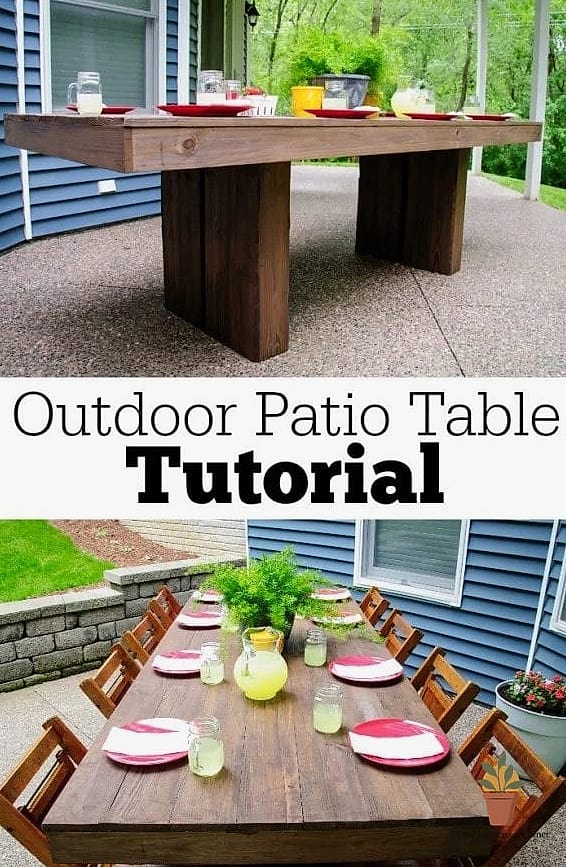
Outdoor tables need somewhere for rainwater to go, otherwise you end up with pooling and eventual warping. A subtle quarter-inch slope across the tabletop keeps water moving toward the edges. You won’t even notice it visually, but your table will last years longer.
Go With X-Frame Legs for Stability
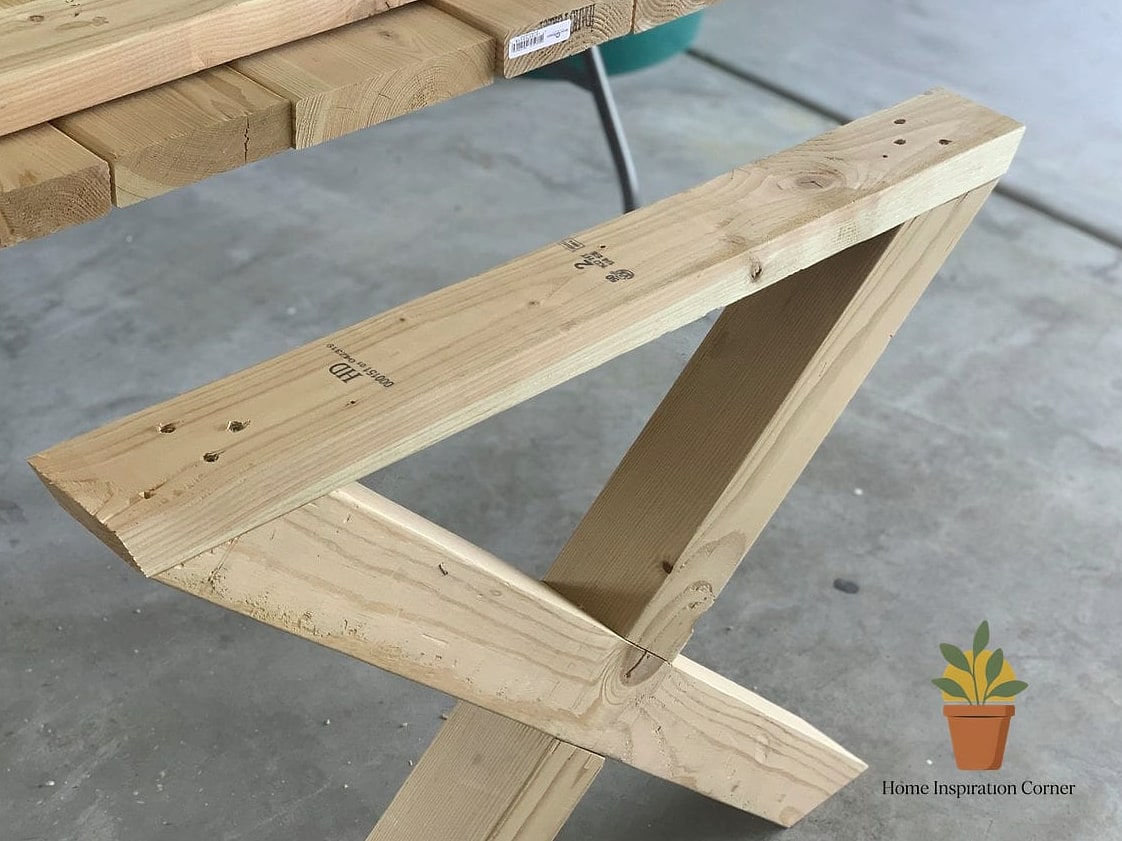
X-frame or trestle-style legs give a DIY table serious stability without needing a bulky center support. This style also happens to be having a moment in outdoor design right now, showing up in a lot of patio collections. It’s a good middle ground between sleek and sturdy.
Paint the Base a Bold Color
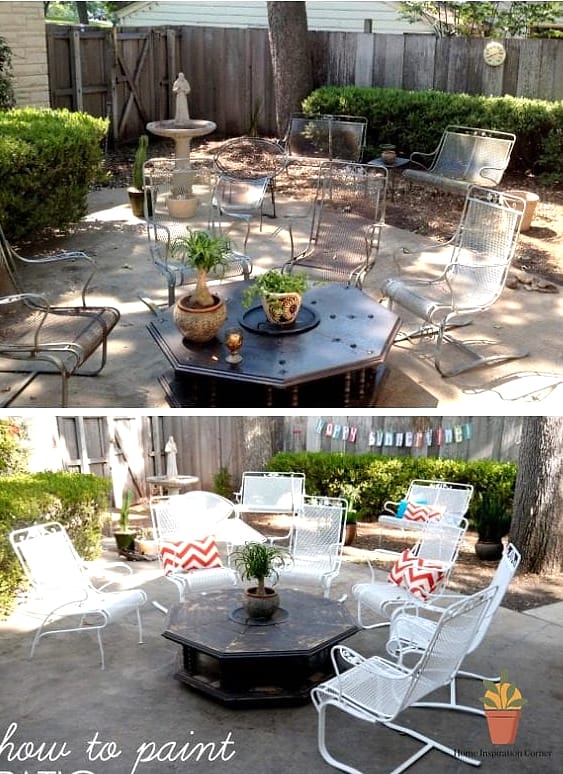
White or black tabletops paired with a bold-colored base, think terracotta, sage green, or navy, give an otherwise simple table some personality. This is a low-cost way to make a DIY piece feel intentional rather than accidental. Just make sure you’re using exterior-grade paint or it’ll chip within a season.
Incorporate Tile Into the Tabletop
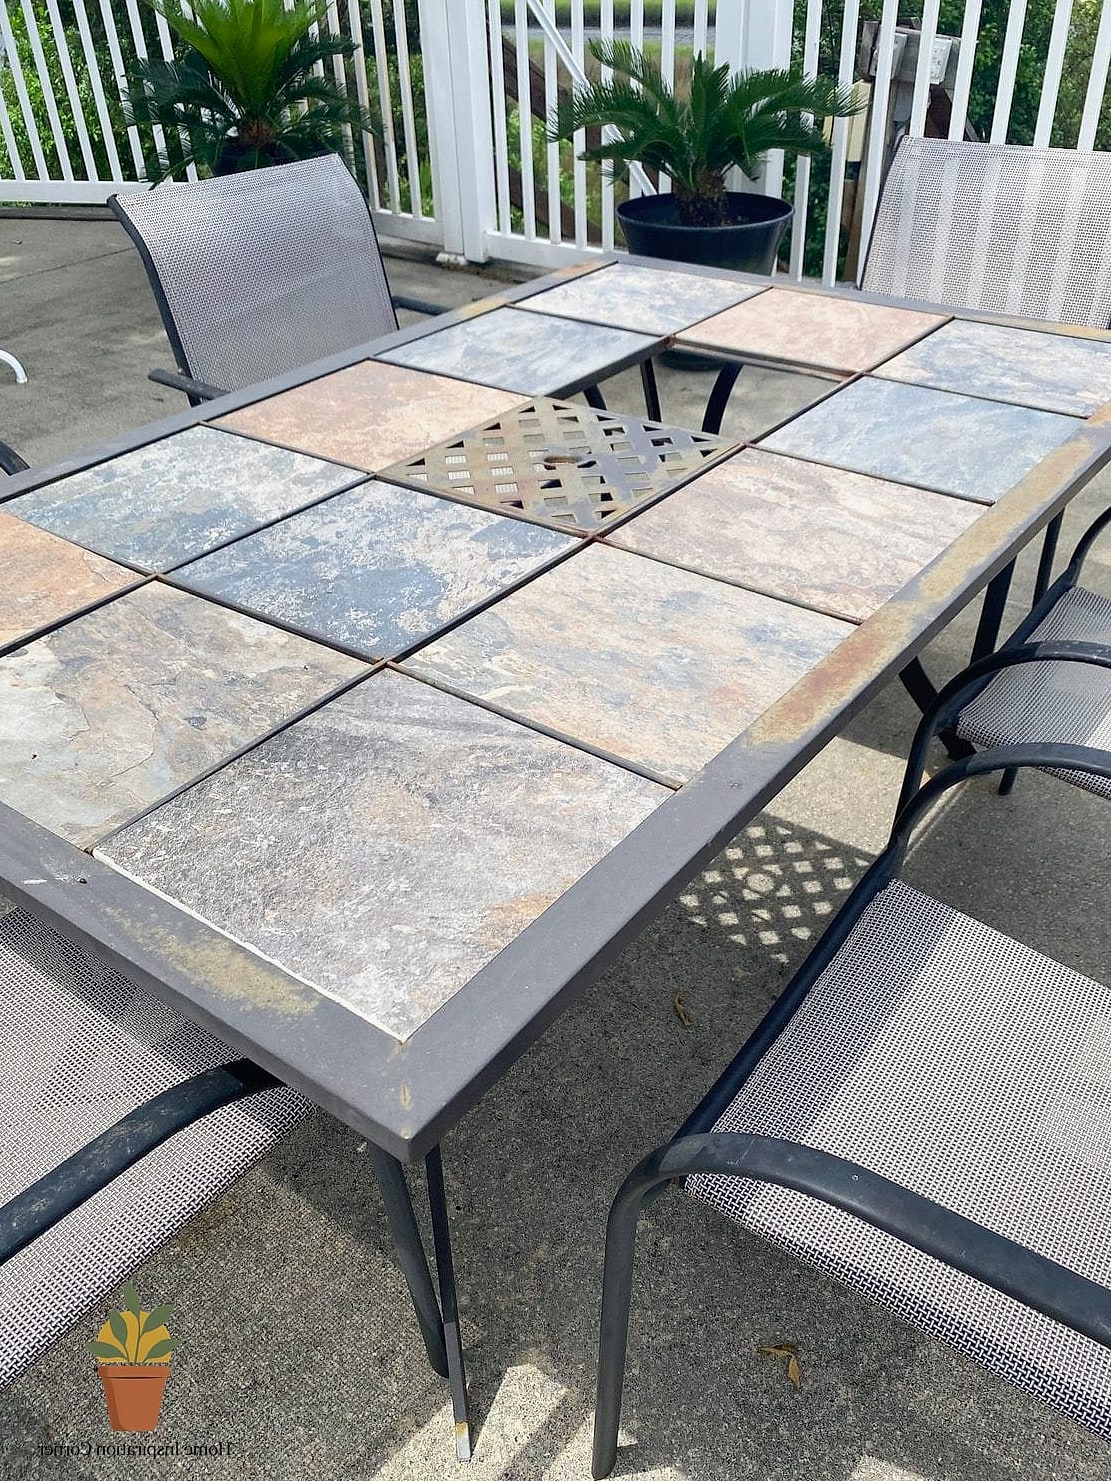
A tiled tabletop is one of those projects that looks way more complicated than it actually is. Ceramic or ceramic-look tiles set into a wood frame create a durable, heat-resistant surface that’s perfect for setting down hot dishes straight from the grill. Grout lines do need occasional cleaning, but it’s a small tradeoff for the look.
Think About Table Height for Your Seating
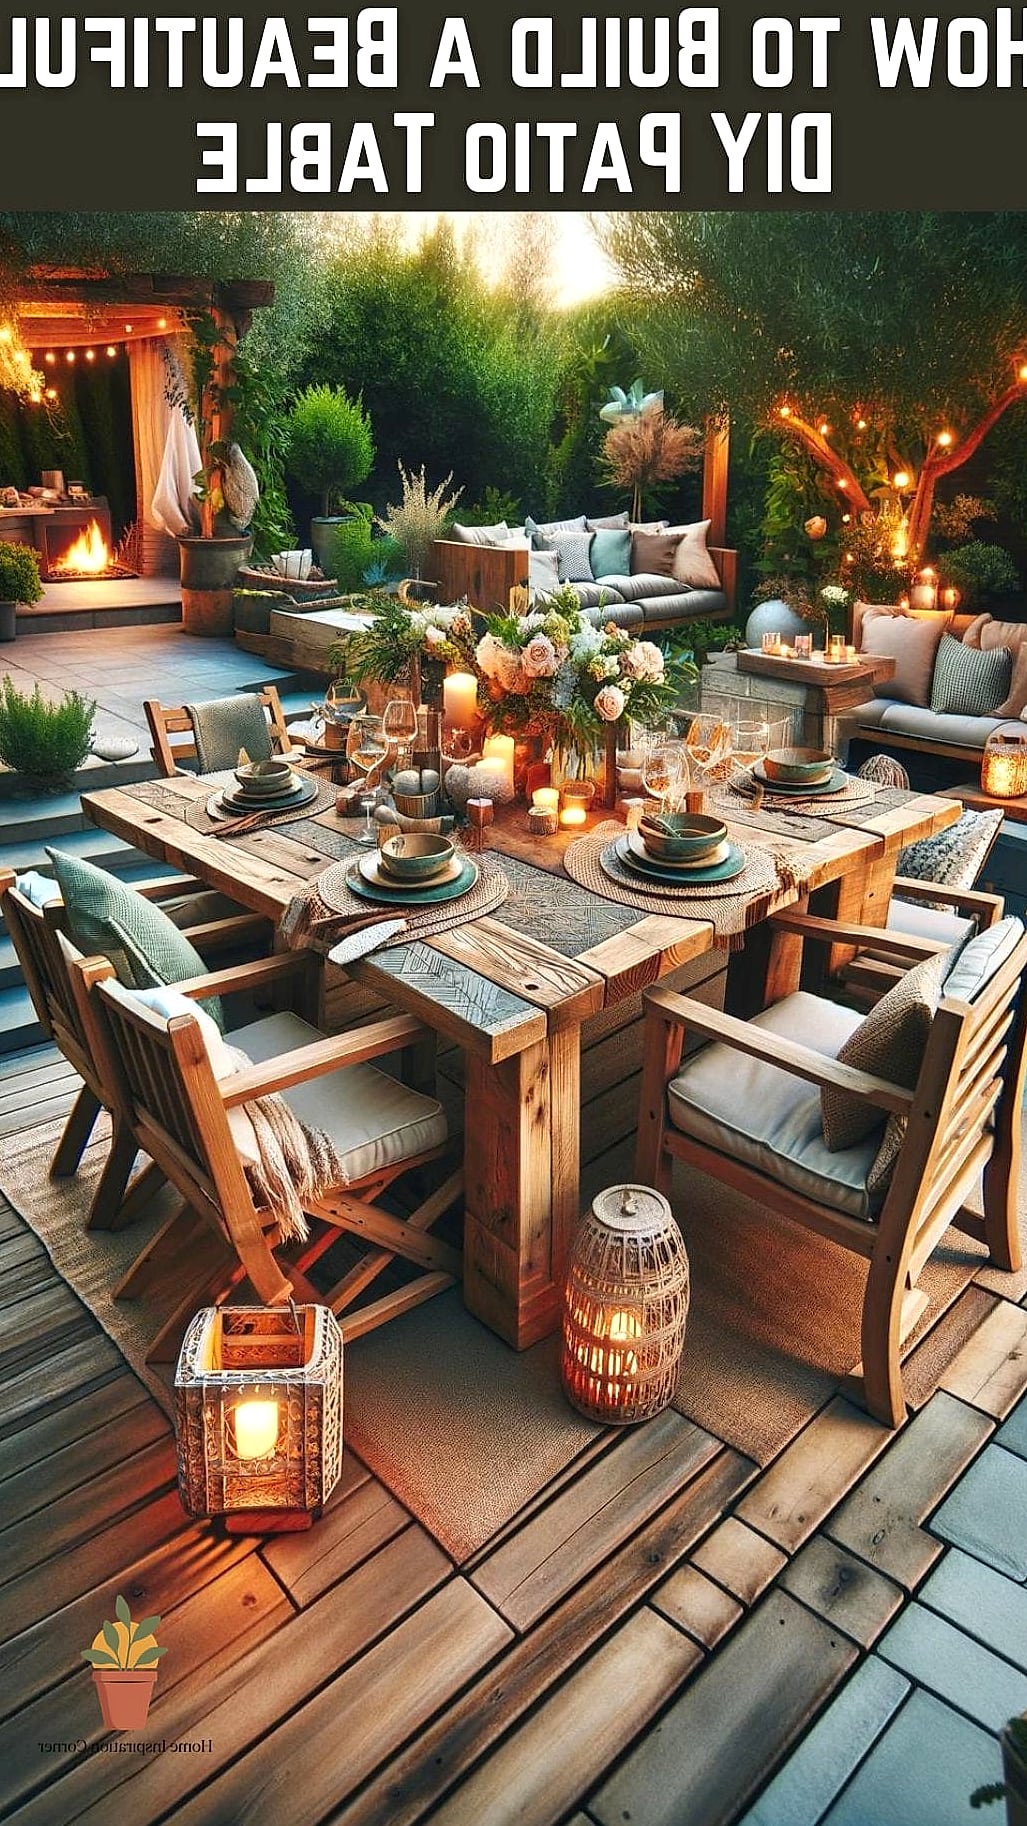
Standard dining height is around 28 to 30 inches, but bar-height tables sit closer to 40 inches and pair with taller stools. Designers often suggest bar height for smaller patios since the taller profile can make the space feel less cramped. Just double check your chair or stool heights before finalizing your leg length.
Use Metal Hairpin Legs for a Mid-Century Feel
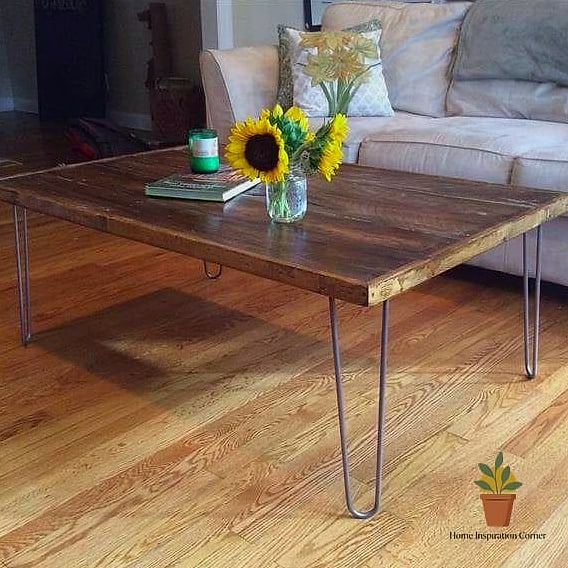
Hairpin legs are inexpensive, easy to install, and instantly give a table a mid-century modern edge. They’re also lightweight, which makes moving the table around for cleaning or storms much easier. Look for a powder-coated finish so they hold up against rust.
Add a Built-In Cooler or Ice Bin
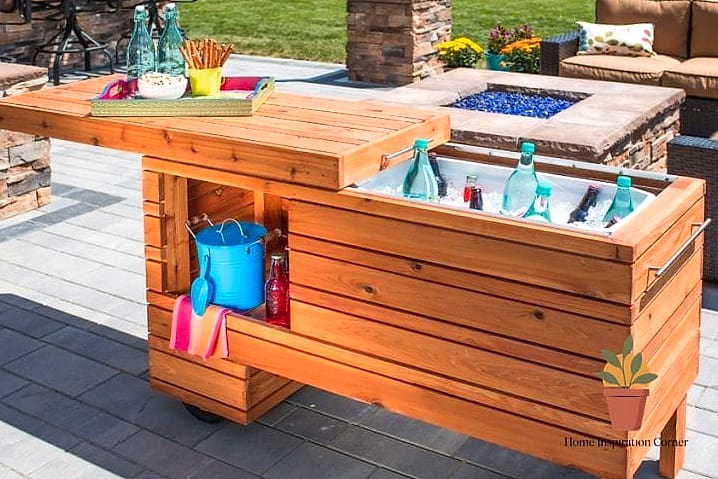
This is more of a luxury add-on, but it’s a genuinely fun one. Cutting a insulated bin into one end of the table keeps drinks cold without cluttering the surface with a separate cooler. It’s a favorite among designers doing custom outdoor entertaining spaces.
Choose Stainless Steel Hardware
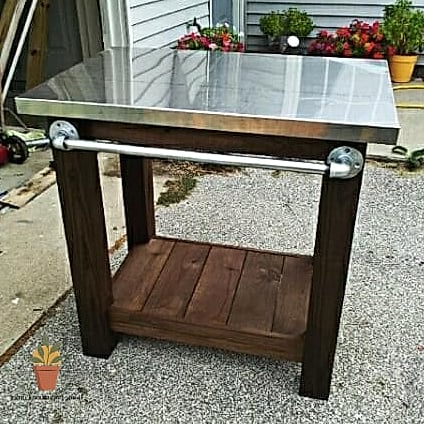
Regular hardware rusts fast outdoors, staining your wood and weakening joints over time. Stainless steel or galvanized screws cost a little more but save you from redoing the whole project in two years. This is one of those details that’s easy to overlook but makes a real difference in longevity.
Try a Two-Tone Finish
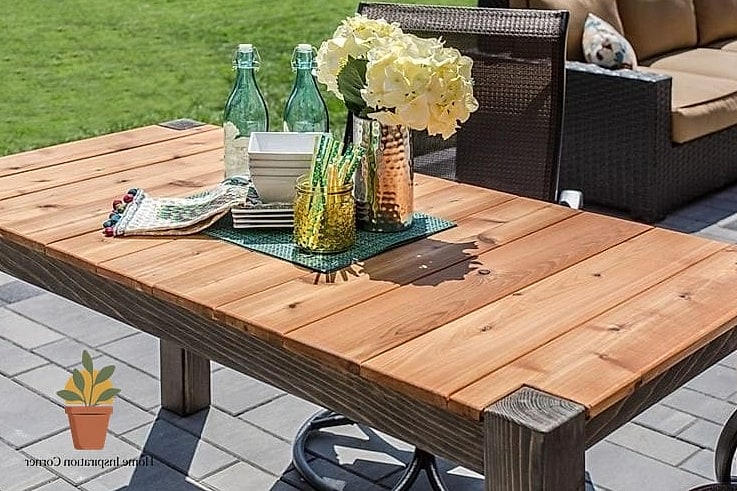
Staining the tabletop one shade and painting the legs another creates depth without much extra effort. A dark walnut top with white legs feels coastal, while a natural wood top with black legs leans more modern farmhouse. This technique is popular because it lets one table work with multiple decor styles.
Design for Easy Storage or Folding
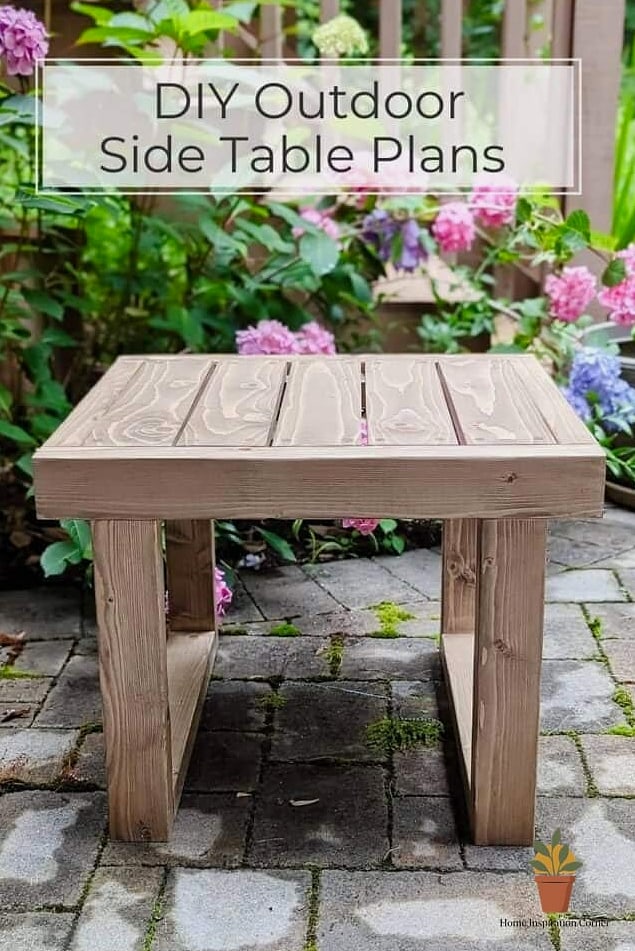
If your patio doubles as a driveway or gets limited use in winter, consider building in folding legs or a removable top. It’s more work upfront, but it means you’re not fighting to store a bulky table come colder months. Renters especially appreciate this kind of flexibility.
Add Inlaid Metal or Wood Accents
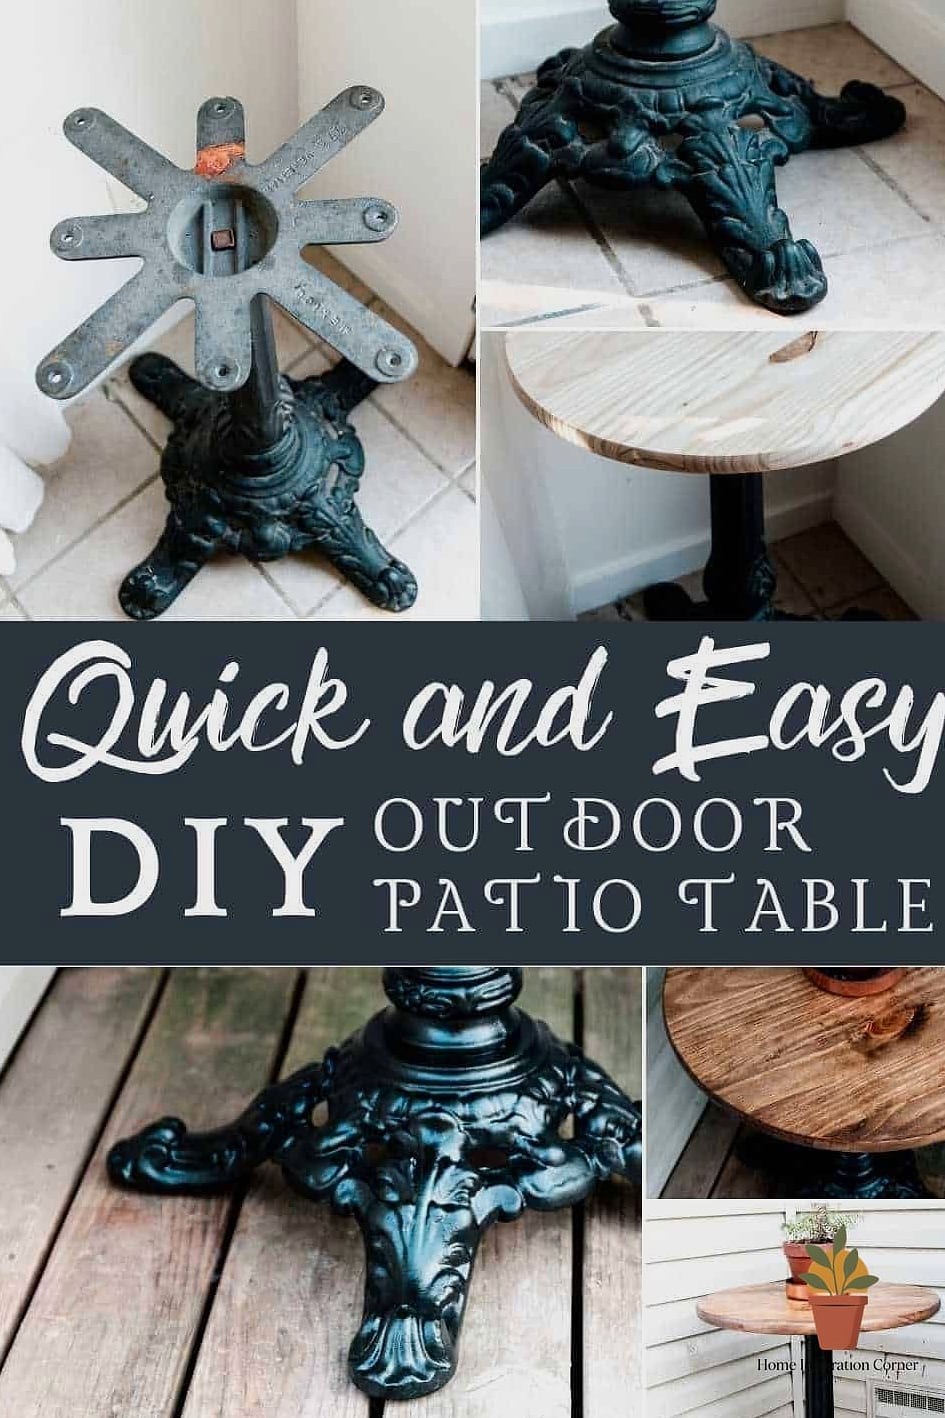
A thin strip of brass or contrasting wood inlaid around the tabletop edge gives the piece a custom, furniture-store finish. It’s a subtle detail, but it’s the kind of thing that makes people ask where you bought the table. This works particularly well on darker wood tones where the metal catches the light.
Finish With the Right Outdoor Decor
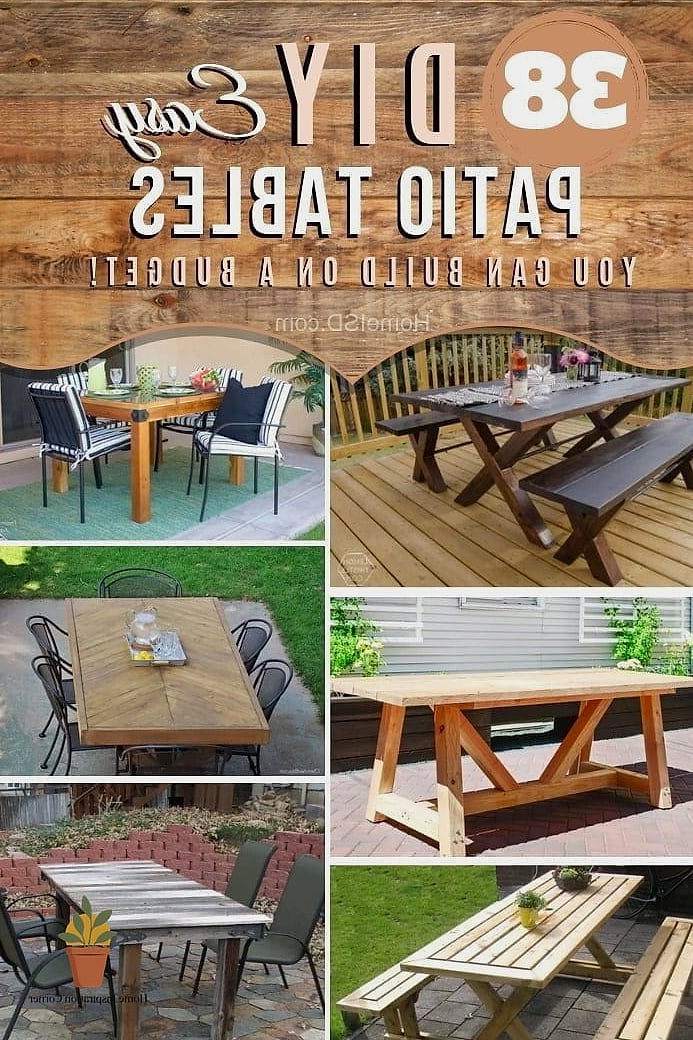
Once your table is built, the styling makes all the difference. A simple runner, a low centerpiece of greenery, and some woven placemats go a long way toward making the space feel finished. Designers often keep the decor minimal on DIY tables so the craftsmanship itself stays the focal point.
Building a patio table yourself is honestly one of the most rewarding weekend projects you can take on. It doesn’t require professional tools or years of woodworking experience, just some patience and the right game plan. Pick a few of these tips that fit your style and budget, and you’ll end up with a table that feels custom-made because, well, it is.